Removing the Omni Motor, Controller Box and Drip Tank Stand is rather simple.
You need to have completed the Disassembly First Steps and Omni Bottom and Pulley Assembly steps first.
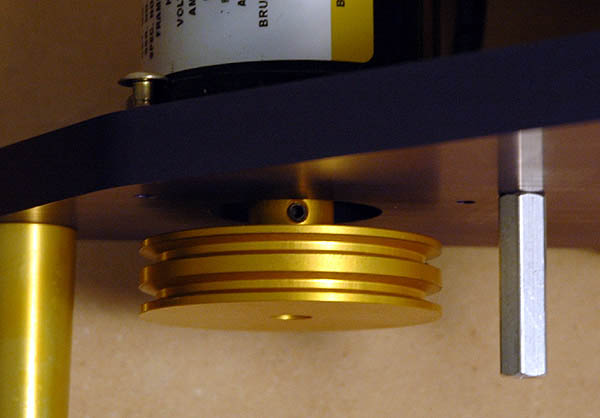
Spin the Motor Pulley so you can locate the set screw as shown below. Using a 3/32″ Allen screw, loosen the set screw and the pulley should come off the Motor easily.
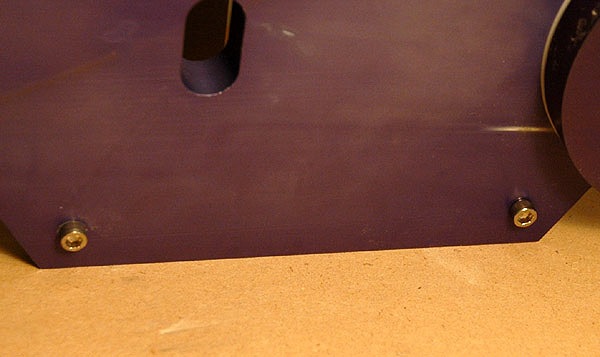
Now locate the Control Box and Drip Tank Stand attachment bolts. For some reason Jersey Instruments has used a mix of Metric and Imperial fasteners and measurements to construct the Omni. These two bolts require the use of a 4 mm Metric Allen key to remove. They are both rather tight so be careful when loosening them. Once they are loose, hold the Control Box and Drip Tank Stand while removing the bolts.
Don’t forget to unscrew the last Encoder cable hold-down on the base near the Swing Arm attachment.
Setting the Omni back upright, use a Phillips screwdriver to loosen and remove the three screws holding the Motor to the Base Plate.
Carefully set aside the Motor and Controller Box where it will not be damaged. Make sure you don’t lose any of the bolts and screws either!
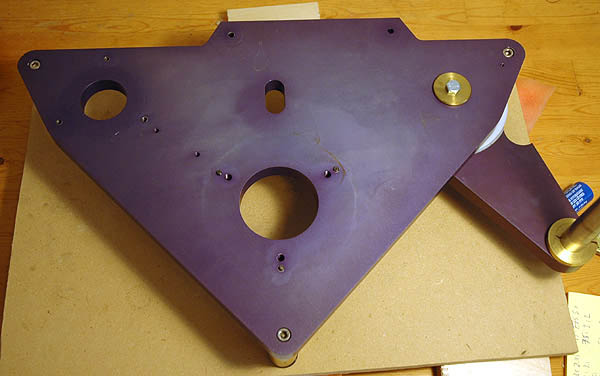
The following photo shows the Base Plate after all components have been removed. Go here for instructions on how removing the Spindle Housing.